Canva Editing

How to Drag a Pre-Designed Label into Canva Drag and Drop Templates

Canva provides pre-designed frames to allow use to give you custom templates for your label needs.

To use:

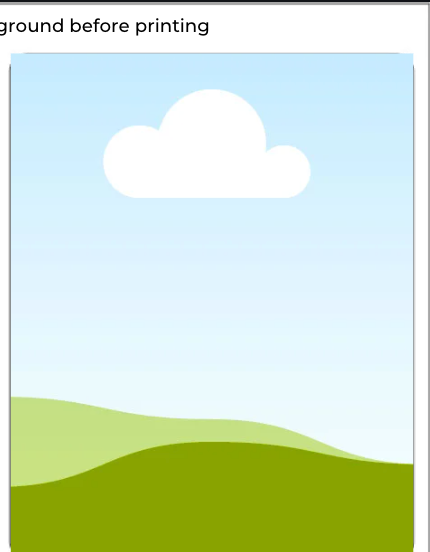
Example of a drag and drop frame in Canva.

  1. Upload your pre-designed label into the uploads section of Canva

  2. Click on the image of the label you want to drag to the template.

  3. Drag the image into one of the Canva empty frames. You will know it is an empty frame by its appearance (an illustration of a blue sky with clouds and rolling hills beneath.

  4. Repeat the drag and drop for each label you would like to print.

  5. Don’t forget to delete the background outlines before printing.

If you don’t already have a pre-designed label, you can easily create one directly in Canva.

Step 1: Create a New Design

  1. Open Canva

  2. Click “Create a Design” (top right corner)

  3. Select “Custom Size”

  4. Enter your label dimensions

  5. Example: 2" x 4" or 3" x 3"

  6. Click “Create New Design”

Tip: Make sure your dimensions match your Dashleigh label size exactly for proper alignment.

Step 2: Design Your Label

Now you can design your label using Canva’s tools:

  • Text: Add names, ingredients, or categories

  • Fonts: Choose styles that match your aesthetic

  • Elements: Add icons, shapes, or decorative details

  • Colors: Coordinate with your home or brand style

Take your time here—this is where your label becomes personal and polished.

Step 3: Download Your Design

  1. Click “Share” (top right corner)

  2. Select “Download”

  3. Choose file type:

  4. PNG (recommended for drag-and-drop use)

  5. or PDF Print (for highest print quality)

  6. Click Download

Step 4: Upload into Your Drag & Drop Template

  1. Open your Dashleigh Drag & Drop Template

  2. Go to “Uploads” in the left sidebar

  3. Click “Upload Files” and select your label design

  4. Drag your design into one of the frames

  5. Your design will automatically snap into place.

Step 5: Fill Your Sheet

Pro Tips for Best Results

Keep important text away from the edges (safe margin)

Use high-contrast colors for readability

Print a test page before using label paper

  1. Click your placed design

  2. Copy and paste it into the remaining frames

  3. Or drag it into each frame individually

  4. Everything will stay perfectly aligned for printing.

Canva Basics: Adding and Editing Text


Adding text in Canva is a great way to get comfortable with how Canva works and the layout of the design toolbar. You can find the text tool on the left hand side of the design desktop. This article will show you how to add text, customize the characters and the various design options Canva has for fonts.

Adding Text in Canva

On the editor side panel, click on the Text tab.

  1. Click on the option to add a heading, subheading, or body text. You can also choose from our font combinations.

Shortcut: Press T on your keyboard to insert a text box to your design.


Editing Text in Canva

Double-click the text box that you want to edit.

  1. Delete or edit its contents. Use the text edit options on the editor toolbar to format your text.

  2. Click outside the text box to finish.


Choose Font

  1. Click the font dropdown from the toolbar.

  2. Select or search for the font you want to use.

  3. Note: Canva Pro account* offers an additional 5,000 fonts - so it is easy to find fonts that no-one else is using.

Text size

Click on the current font size and enter the new size. You can also click on + plus or - minus to reduce or increase the size.

Text color

Click Text Color and select a new color from the color panel.

Text emphasis

Click Bold, Italics, or Underline to add emphasis to text. If these icons are grayed out, it means that the current font used doesn’t support adding emphasis.

Text alignment

Click on Center, Left, Right, or Justify repeatedly until your preferred alignment is applied.

List

  1. Click Bullet list to put your text into a bullet list.

  2. To put your text in a numbered list, click on the Bullet list icon again to change the bullets to numbers.

Text spacing

  1. Click Text spacing.

  2. Drag the Letter spacing and Line spacing sliders to your preferred value.


Curving text, adding shadows, and more

Make your text pop, and add more impact to your designs using text effects. Text effects include the following:

  • Curve

  • Shadow

  • Lift

  • Hollow

  • Splice

  • Echo

  • Glitch

  • Neon

Adding text effects on a desktop computer

  1. Click on the text you’d like to edit. Text formatting options will appear on the editor toolbar.

  2. Click Effects. Options will appear on the editor side panel.

  3. Click on the effect you want.

  4. Adjust the effect intensity and settings to your liking.

To remove the applied effect, select None from the options.

*Note: Dashleigh is a Canva affiliate and makes a small commission on Canva Pro sign ups. We use it daily and can recommend for designing commercially free website assets, adding trendy fonts and for scheduling our social media posts to Insta., Facebook and Pinterest.