It is easy and effortless to create your labels in Google Doc. We recommend using Google Slides.
Slides allows for easy editing of both text and images.
Create the Google Presentation
Download the Dashleigh JPG version of your template
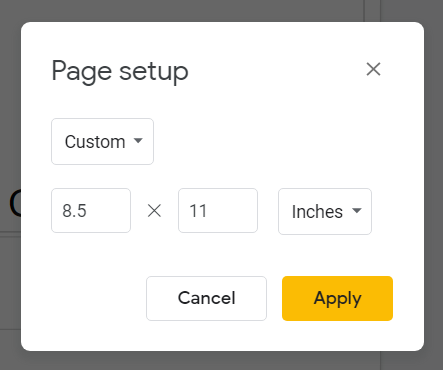
Create a new Google Slides presentation. Change the page to 8.5 x 11 slide:
File > Page Setup > Custom > 8.5 x 11 inches (for landscape choose 11 x 8.5 inches)
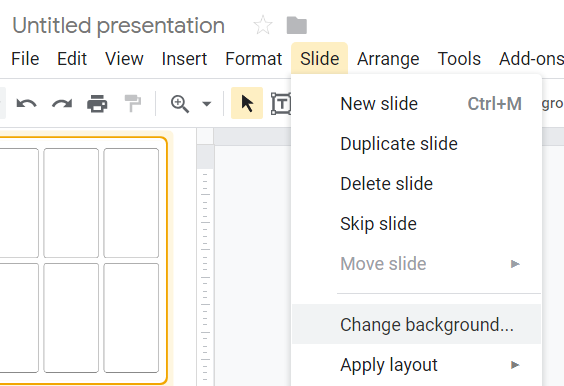
Add the Dashleigh Label or Hang Tag Background
Add the label JPG, so you know where the label lines are.
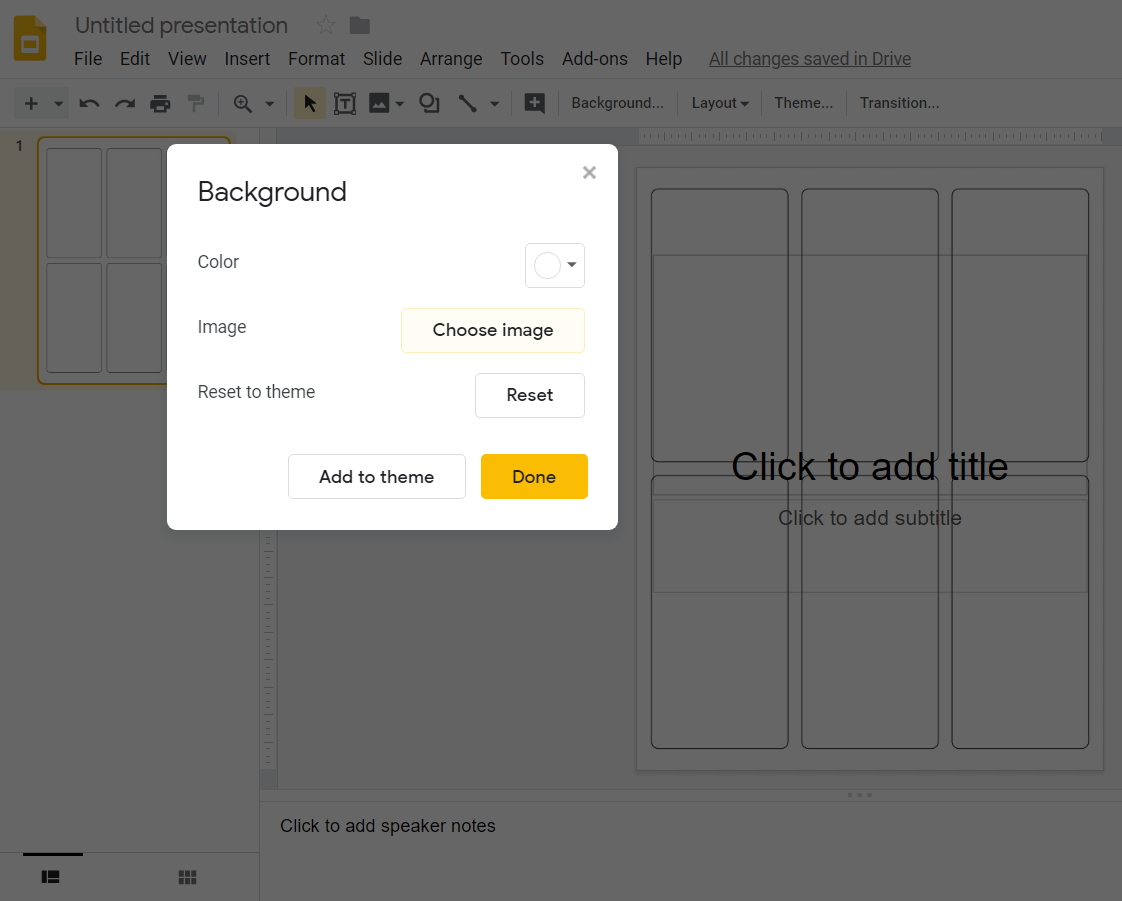
Slides > Change Background > Choose Image.
Add the Dashleigh JPG you downloaded in step 1

Designing Your Labels and Hangtags
Add text box: Insert > Text Box

Add images Insert > Images
Remove the Background and Print
Once you are finished designing, remove the background image the same way you added it. Slides > Change Background > Reset to Theme: Reset
Print a test page on plain printer paper. Adjust any designs accordingly to make sure all content fits inside of the label space
Load the label paper in your printer and print.